Virus Bunting
Trying to brighten up my dull rented house!
FREE PATTERNS
7/15/20264 min read
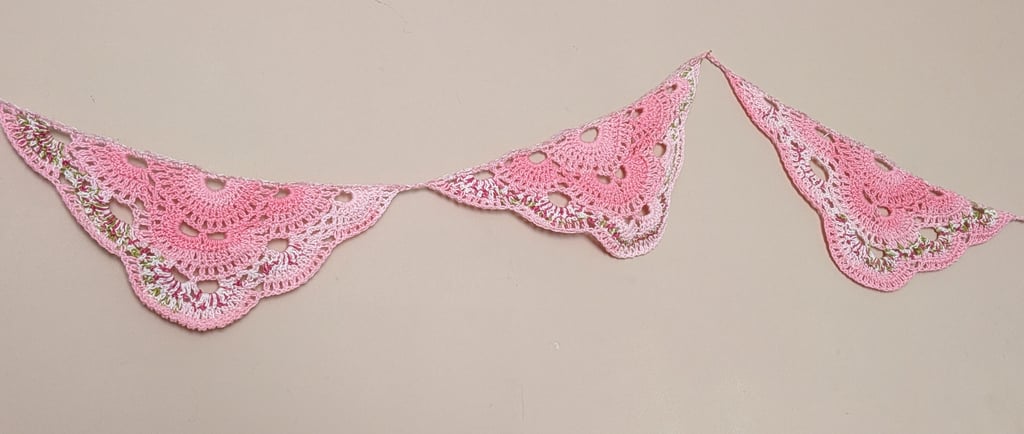
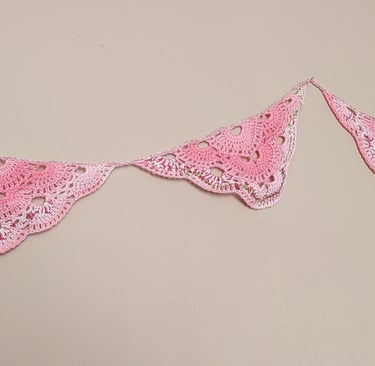
The virus shawl is one of my comfort patterns. When I want to crochet without thinking too much, when I have a yarn that I don't know what else to do with, when I just need something familiar to work on, I make a virus shawl. There are a few versions of it around; it's a very old pattern, but the one I use is what I have fiddled with numbers-wise over the years and what I prefer.
I live in a rented old Victorian house, which means that I am surrounded by beige, white, and other nondescript neutrals that collude together with the complete lack of natural light to make for a very dull interior.
So I decided to make myself some bright pink bunting.
This came about as a random thought. I have been seeing bunting everywhere, mainly granny triangles, granny semi-circles, and other such things, but I wanted something a bit more delicate. I decided on the Virus pattern because, as mentioned, it's my go-to pattern for shawls. I thought that if I just did the start, then it would make cute bunting, right?
I had a quick look at my stash and found a single ball of yarn that I am pretty sure is now discontinued, so I decided to use that. It's also pink, which is always a plus point. It's the type of yarn that gives you the fair isle effect when knitting, but I'm never going to do that, so this was perfect for it. This pattern would also look great with scraps or mini skeins to make each flag a different colour.
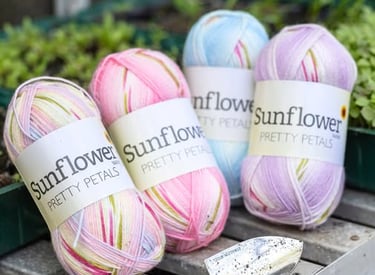
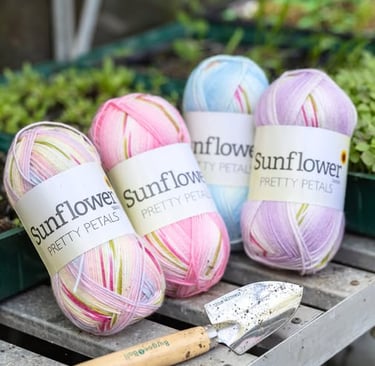
This yarn has a high twist and looks very much like cotton, but you can use any yarn you like for this. Of course, if you use something heavier or lighter than a DK, your flags will come up a different size. Just play around and see what size you prefer!
The Pattern
I got 6 flags from a 100g ball, but you can make as many or as few as you like, just remember you will also need yarn to attach them all together at the end.
You will need:
100g DK weight yarn (or however much you like if you are doing a different amount)
Approx 20g DK weight yarn for the "rope" (You will, of course, need more for more flags)
4.5mm hook (If you want smaller flags, use a smaller hook; for larger and lacier flags, use a larger hook)
Abbreviations:
Ch - chain
SC - single crochet
DC - double crochet
Sl - slip stitch
st - stitch
Start crocheting here:
Set up
Ch10, join with a Sl to the first Ch to form a circle.
Ch3 (counts as a DC here and throughout), 19 DC into the circle, turn.
Ch3, DC into each DC, turn.
Ch4 (counts as DC, Ch1 here and throughout), DC into next st, (Ch1, DC) to end, turn.
Ch7, Sl into first Ch1 space, (Ch4, Skip next Ch space and Sl into the next space) x3. Ch7, Skip Ch space, Sl into next space, Ch7, Skip Ch space, (Ch4, Skip next Ch space and Sl into the next space) x3, Ch7, Sl into top of the last DC, turn.
You should now have a semi-circle with 3 DC rows and a final row with 4 larger loops (1 at each end and 2 in the middle). The larger loops will act the same as the starter circle, and you build from there. For my flags, I did 3 repeats, but you can do more or fewer depending on how big you want the flags.
You can even carry on and make a virus shawl if you like!
Pattern Repeat:
Sl into the large loop, Ch3, 10 DC into the loop, Sl into the first small loop, Ch 4, Sl into next small loop, (10 DC into next large loop) x2, Sl into small loop, Ch4, Sl into small loop, 10 DC into large loop
Ch3, DC into next 9 DC, (Sl into small loop, Ch4, Sl into small loop, DC into DC's) repeat till the end. turn
Ch 4, (DC, Ch1) into all the DC's, skipping over the small loops, DC in the last st.
Ch7, Sl into first Ch1 space, (Ch4, Skip next Ch space and Sl into the next space) x3. Ch7, Skip Ch space, Sl into next space, Ch7, Skip Ch space, (Ch4, Skip next Ch space and Sl into the next space) x3, Ch7, Sl into top of the last DC, turn.
Each row 4 forms the start of a new section, so end on a row 3
Hopefully, that all made sense. It's a lot easier to actually do than it is to read, and you will have the rhythm down in no time. Now all that's left is to join them together.
With a separate piece of yarn, Ch 10, join to first st to form a loop
Ch 10 (or however long you want the gap between the end of the bunting and the first flag to be), start attaching bunting by sc into the top of the ch3 in the flag corner. Continue to attach the flag by sc across evenly. You can crochet over the ends of your bunting flags as you go if you do not want to sew them in.
When you get to the end of the flag, Ch 5 (or however big you want the gap to be between flags), and repeat until all flags are attached. Make sure that the amount of Ch between each flag is equal.
Once all flags are attached, Ch 20 and slst into the 10th chain from the hook to form another loop. (If you changed the numbers at the start, adjust accordingly)
If you wish a sturdier “rope”, then you can sc back across.
And we are done! This is a great little project for the warmer weather, as it's lightweight and portable, and once you get the 4-row repeat down, you'll be able to make them without too much thought, making them great for BBQs, picnics, taking kids to the park etc
I hope you have fun making them and adding a pop of colour to everywhere that needs it.